
Production Accessories
Visual Storytelling for Independent Films in 2026
Build a clear scene with framing, movement, light and sound. Follow an original five-shot exercise, then check what each cut tells the viewer.
Sections10
- Plan visual storytelling around a choice
- Choose whose view shapes the scene
- Frame space before you frame details
- Keep the room clear across cuts
- Let light follow the scene's change
- Move the camera when the story moves
- Use sound to connect the space
- A five-shot visual storytelling exercise
- Check the edit with fresh eyes
- Verdict: make each shot carry a change
Visual storytelling gives the viewer evidence of a change as a person wants something, meets resistance and makes a choice. Framing, light and sound decide which parts of that choice the viewer sees. Start with a scene you can explain in one sentence, then turn that sentence into a shot plan for a small crew.
Show the action that changes a scene, then show its effect on someone. Use a wide shot to make the space clear, closer shots to direct attention and a reaction to reveal the cost of a choice. Keep screen direction and small actions consistent between takes. Choose light, camera movement and sound for a clear story purpose before adding more gear.
Plan visual storytelling around a choice
Write down who wants what, what gets in the way and what changes by the end, so you have a clear dramatic action to photograph. A mood such as loneliness can guide the look, but an action gives the scene a shape. A person saving a seat for someone who never arrives is easier to film than the idea of loneliness on its own.
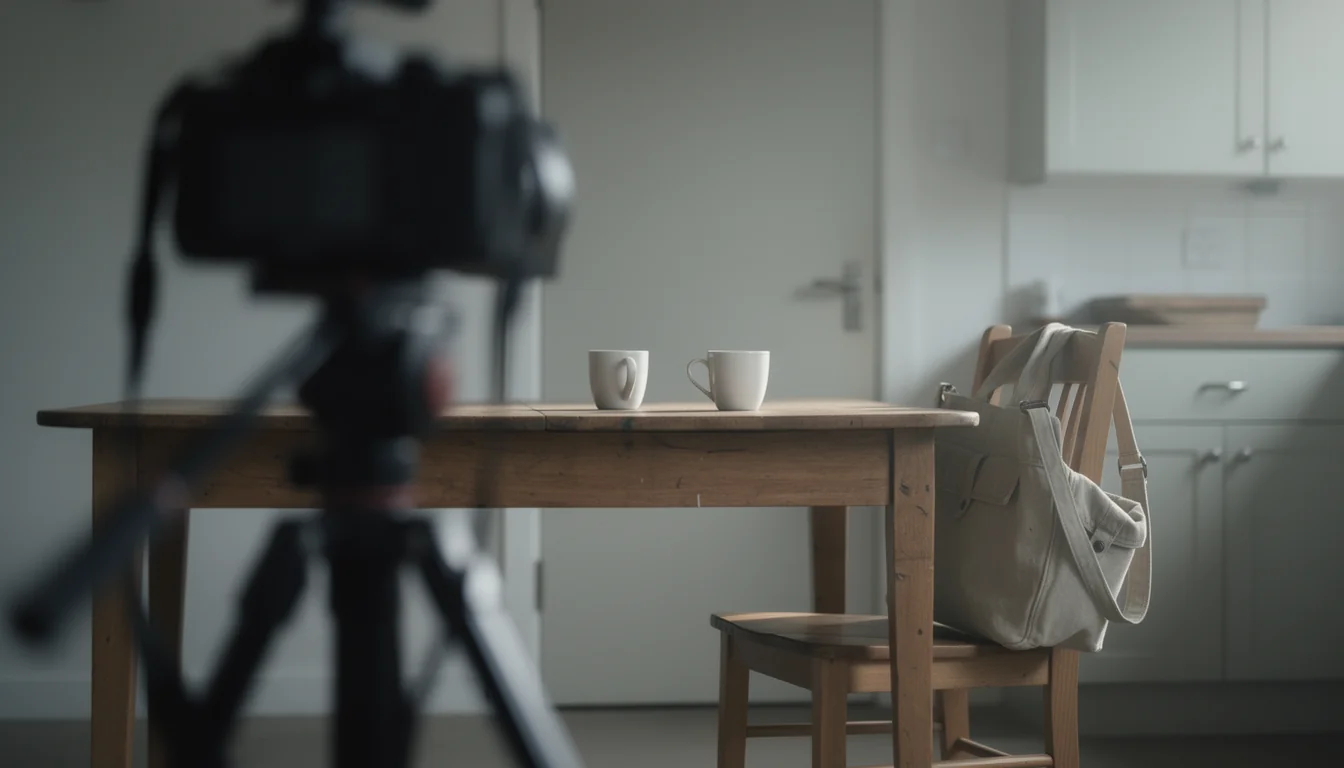
Try this original scene: two housemates sit at a kitchen table, and one has packed a bag to leave. The other sets out a second cup, then puts it away after seeing the bag. The scene turns on that last action because the bag sets up the choice and the cup makes its effect visible.
Give each shot a job: a wide frame can show the distance between the chairs, while a close view of the cup draws attention to the offer of company. Holding on the person who puts it away can show that they understand the choice. You can tell this scene with little dialogue because the actions carry its meaning.
Choose whose view shapes the scene
Point of view is the access you give the audience: following the person with the bag may make the scene about the effort to leave. Following the person with the cups may make it about being left behind, so choose that view before you list shots and give the cut a clear center.
For a scene built around a hidden fact, decide when the viewer learns it: show the bag first and the audience waits for the other person to notice. Hide the bag until they look down and the audience discovers it with them. These are two useful versions of the same scene, with different kinds of tension.
Avoid treating every exchange as a pair of equal close-ups, and let the reaction matter when it changes what the action means. Adobe's guide to shot-reverse shot describes the link between a look, its target and the return to a character's response.
Frame space before you frame details
An establishing shot gives the viewer a map by showing the table, the door and both people in one view. Once those facts are clear, you can move closer without asking the audience to rebuild the room after every cut.
Shot size changes the amount of information in view. A wide shot can show that someone is close to the exit. A medium shot lets their hands and face work together. A close-up can isolate a small shift in expression. Use the size that makes the next story fact clear.
Try leaving empty space near the door in the first shot, where the bag can sit without drawing all the attention. When its owner stands, that space becomes their route out. This is a scene choice rather than a rule that every empty frame must follow.
Check edges as well as the center, since a bright kettle behind a face may compete with the cup that matters. A door hidden by a chair may make the exit hard to read. Our guide to checking focus and framing explains where a separate screen can help on a small set.
Keep the room clear across cuts
Screen direction is the direction an action appears to move in the frame, which helps the audience understand where a person is going. If a person walks toward the door from left to right, a cut that suddenly sends them right to left can make the route feel confused. Make a simple overhead sketch of the room and camera positions before you shoot.
For two people facing each other, draw an imaginary line between them. Keep the cameras on one side while filming their exchange. This is the 180-degree rule explained by Adobe. It helps their looks and positions stay consistent from shot to shot.
Track the actions that bridge a cut too, noting which hand lifts the cup, when it leaves the table and where the bag rests. Photograph the setup for your own notes between takes, and record enough of each action to give the editor a choice of cut points.
You can cross the line for a reason, using a visible camera move, a fresh wide view or a person changing position to establish a new layout. Try that once the basic exchange reads clearly. Confusion should serve the scene rather than come from missing coverage.
Let light follow the scene's change
Start with the light the room suggests: in the kitchen example, a window beside the table gives you a clear direction. Place the faces so the light reveals them at the point where the viewer needs to read a response, and watch how the look changes when someone stands or turns away.
Light contrast is the difference between bright and dark areas, and a bright background behind a dim face may pull attention away from the actor. A small bounce board can return light to the face. A dark cloth outside the frame can reduce bounced light when you want more shadow.
Plan the lighting for the scene around those positions, then choose a fixture that fits the room. Check the whole action, not just the starting pose. Keep stands and cables out of the actors' paths.
For an exterior version, note where the sun is before setting your angles, then lock a look you can maintain across the exchange. The guide to daylight exposure control covers how an ND filter reduces light reaching the sensor, which can help you keep your chosen exposure settings in bright conditions.
Move the camera when the story moves
A camera move draws attention to itself, so give it a clear reason: reveal the bag, follow a person leaving or bring two people into the same frame. Rehearse the start and end positions with the actors. If the move makes the cup hard to see, a fixed shot may serve this scene better.
Blocking means where people stand and how they move, so change the actors' positions before assuming you need a moving camera. One person standing while the other stays seated can alter the balance of a scene inside a still frame.
For a comic version, let the cup land just as the bag tips over. Keep both actions in a wide enough frame to read together. For a tense version, hold on the cup while the bag moves offscreen. The sound can tell the viewer that its owner is leaving before the frame confirms it.
Use sound to connect the space
Sound can tell a part of the story outside the picture: a latch, a chair scrape or a kettle click can draw attention to an action. Pick the sounds that carry meaning and record them cleanly, as well as capturing the dialogue.
Room tone is the steady sound of a location when nobody speaks, which can help smooth gaps between dialogue takes. RØDE's location sound guidance explains how room tone and ambience can support a consistent sound bed across edits.
Listen on headphones during a rehearsal, since clothing noise, a fridge hum or a mic moving against a shirt may be hard to notice while you direct. Our guide to recording dialogue covers body-worn microphone choices. Keep a sound note for each take so the editor knows where a noise occurs.
A five-shot visual storytelling exercise
Use the kitchen scene to make a short shot list, and shoot the same action in each setup even if the edit uses only part of it.
- Room and relationship: both people, the table and the door. Establish where the bag sits.
- Offer: the second cup lands beside the empty place. Keep the hand and cup visible.
- Discovery: the seated person looks toward the bag. Hold long enough to read the response.
- Choice: the other person lifts the bag. Preserve their direction toward the door.
- Effect: the cup returns to the cupboard. Stay with the person who puts it away.
Make a second cut using only the wide shot and the final action, then compare what each version makes clear. The short version may leave more to the viewer, while the closer coverage can make the choice easier to read. Neither cut needs extra shots unless they add a story fact.
Choose equipment for a small film crew from the demands of this plan. A steady camera, a way to hear the take and control of the main light are useful starting points. Add support for a camera move only when that move earns its place.
Check the edit with fresh eyes
Play the cut once with the sound muted, checking that the choice and its effect still have a visible shape. Then listen without the picture and note where the location sound jumps, a line becomes hard to hear or an action needs a clearer sound cue.
Ask a viewer to describe what happened before explaining your intent. If they miss the bag, make its reveal clearer. If they understand the bag but miss the cup's meaning, hold the reaction or final action longer. Change the piece of evidence that failed rather than adding a speech to explain everything.
Verdict: make each shot carry a change
Good visual storytelling starts with a readable choice. Map the room, choose the audience's view and show the response that makes the action matter. Use the five-shot exercise to find gaps in your coverage, then take that plan into the next scene. Framing, light and sound work best when each helps the viewer follow the same change.